Welcome to my recent bedroom makeover…
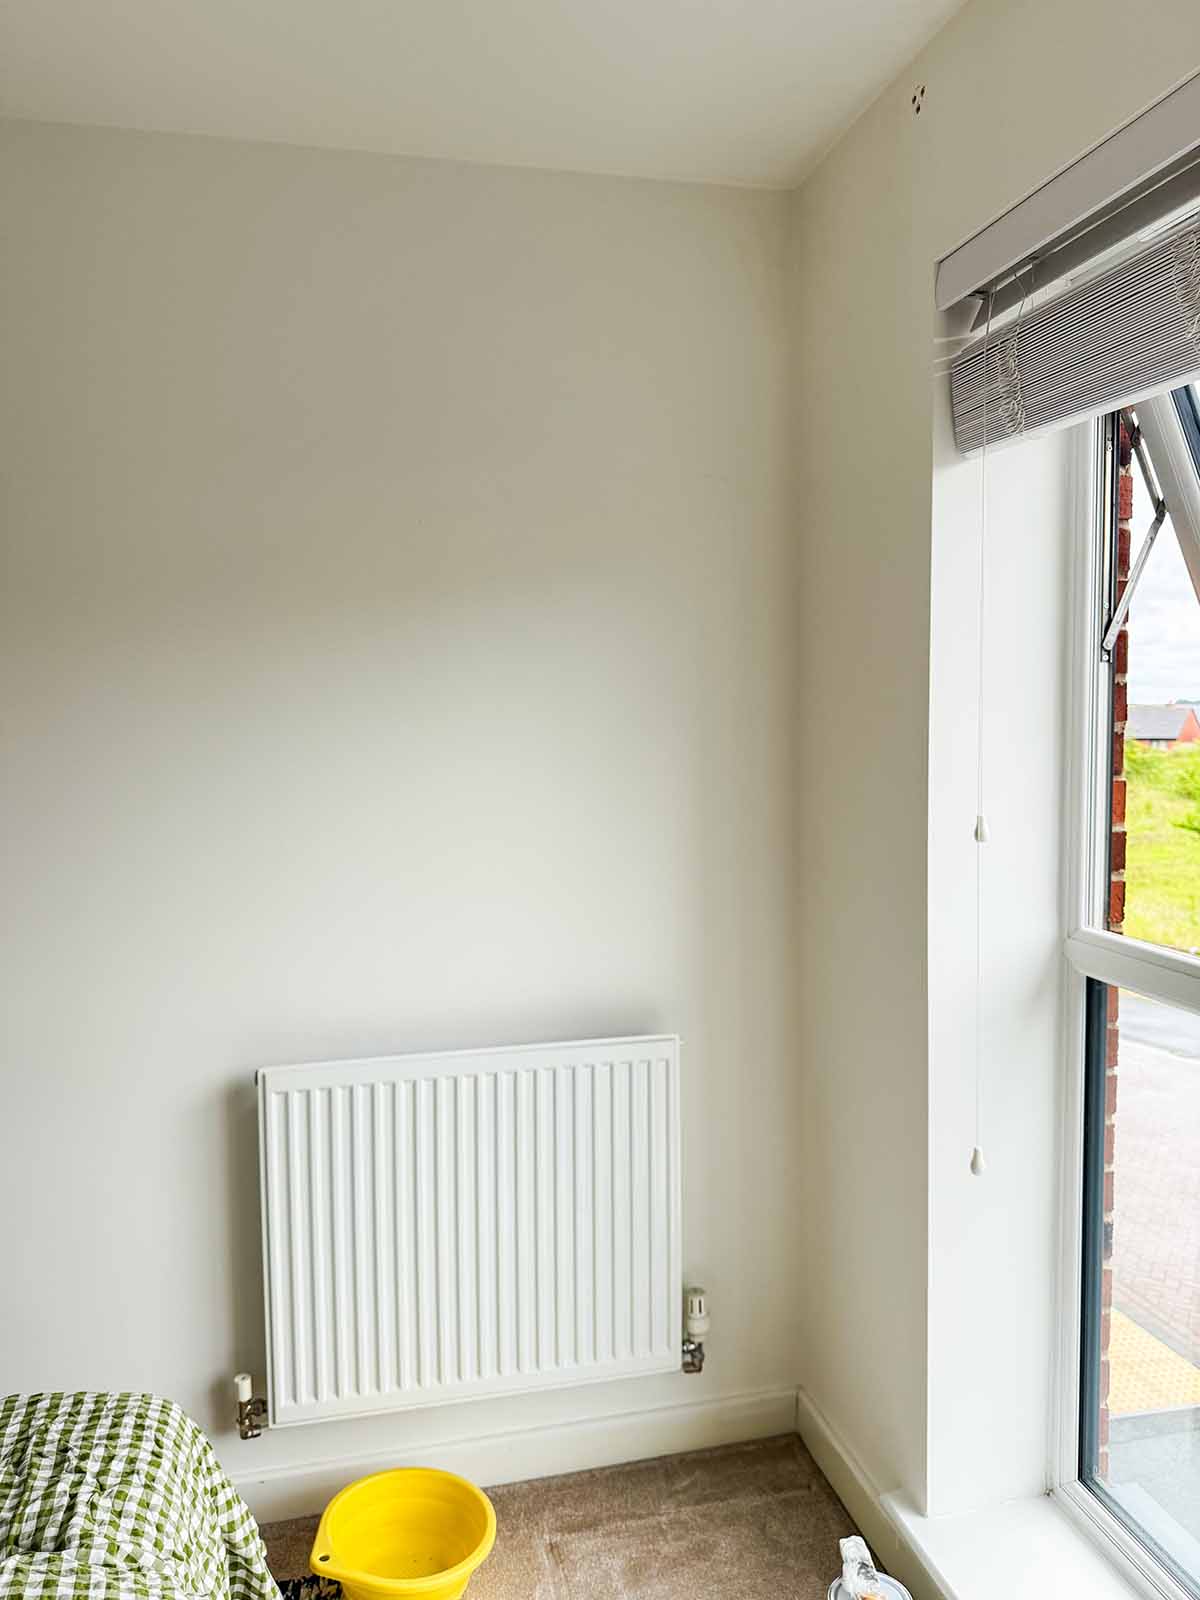
If you told me last year that I would be colour drenching my bedroom in a deep rhubarb pink, I probably would have laughed at you! Earlier this year, I had the itch to do *something* with our bedroom, anything to liven it up a bit really. A couple of years ago, we gave it a quick refresh by painting the magnolia walls white, adding a pretty ceiling light, and putting up some prints. Then we’ve done a couple of other bits since like replace the bed & mattress, changed the bedside tables etc. Lots still needed doing, like the carpet desperately needed replacing, the room as a whole needed some TLC, and overall the room just felt like it needed some colour injecting into it.
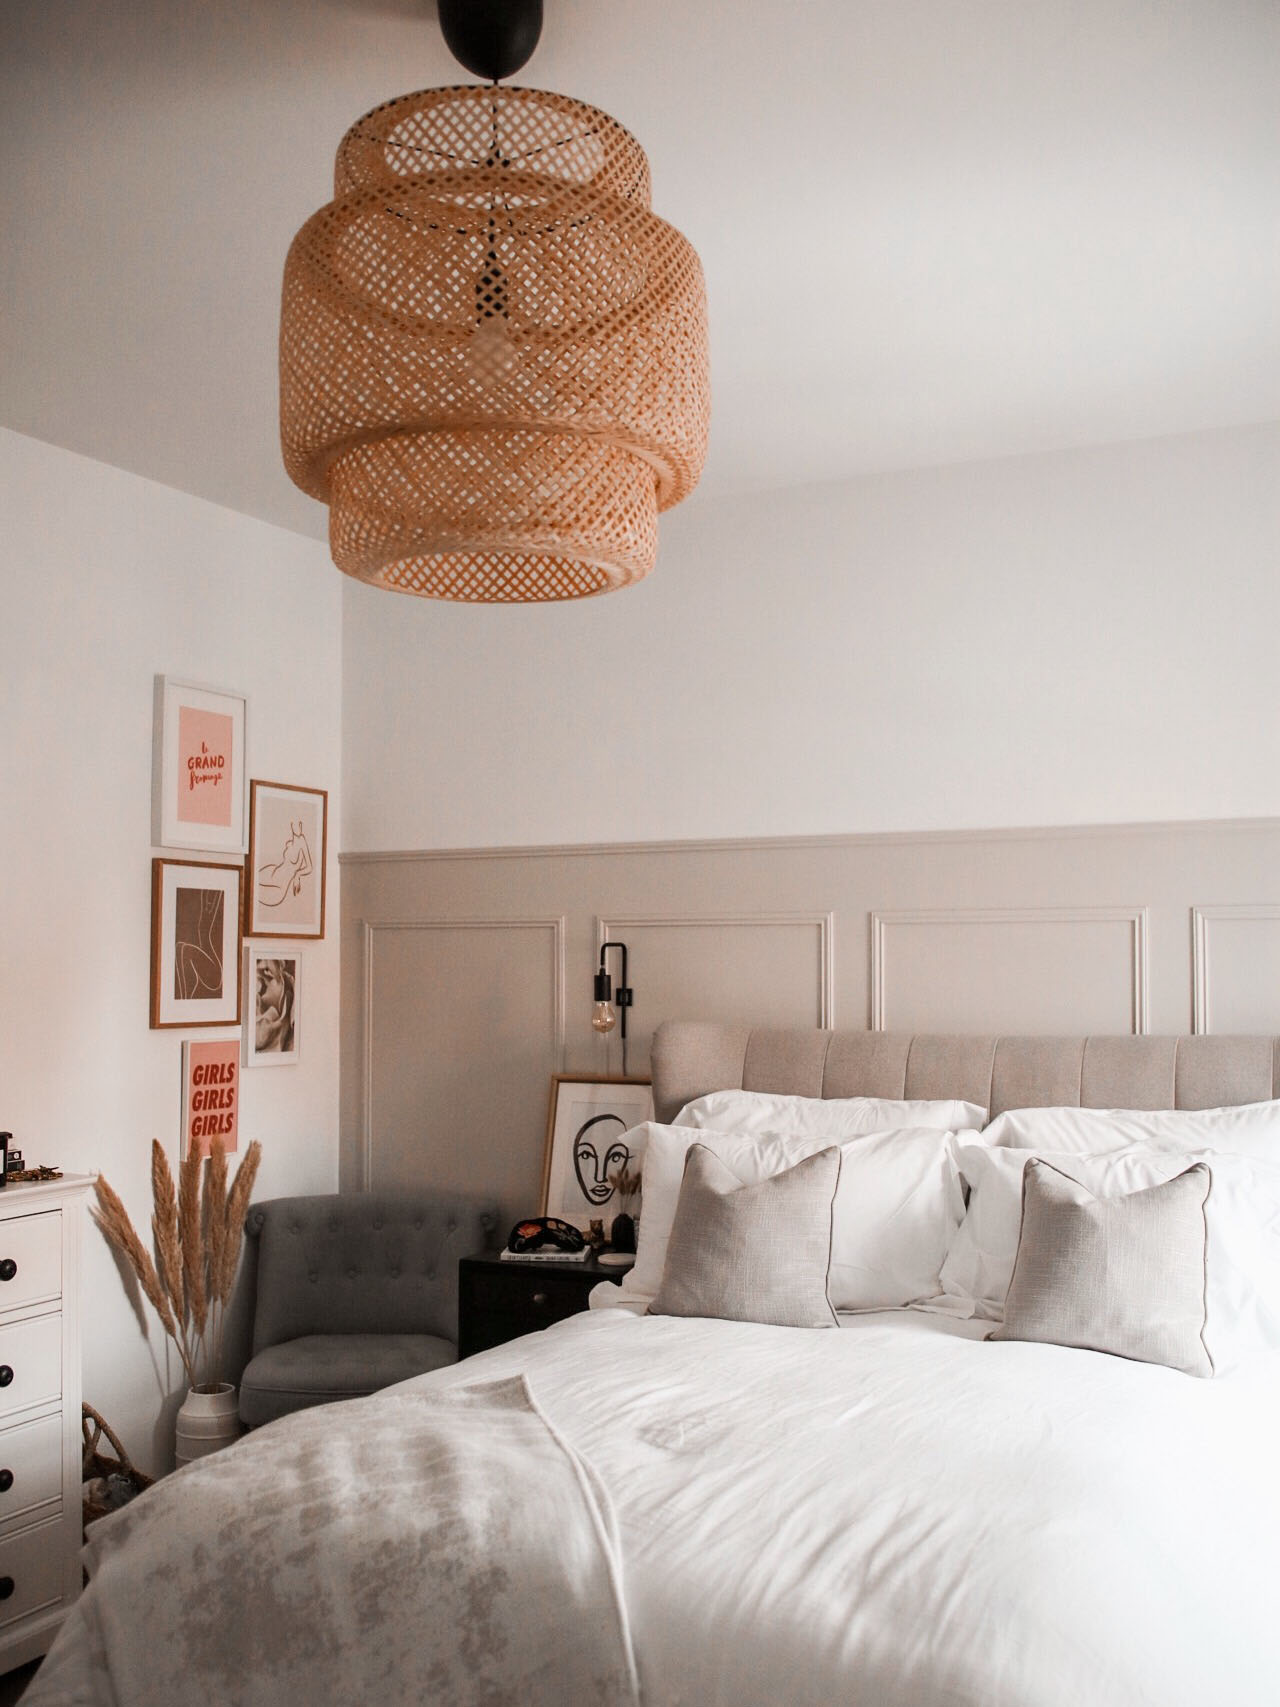
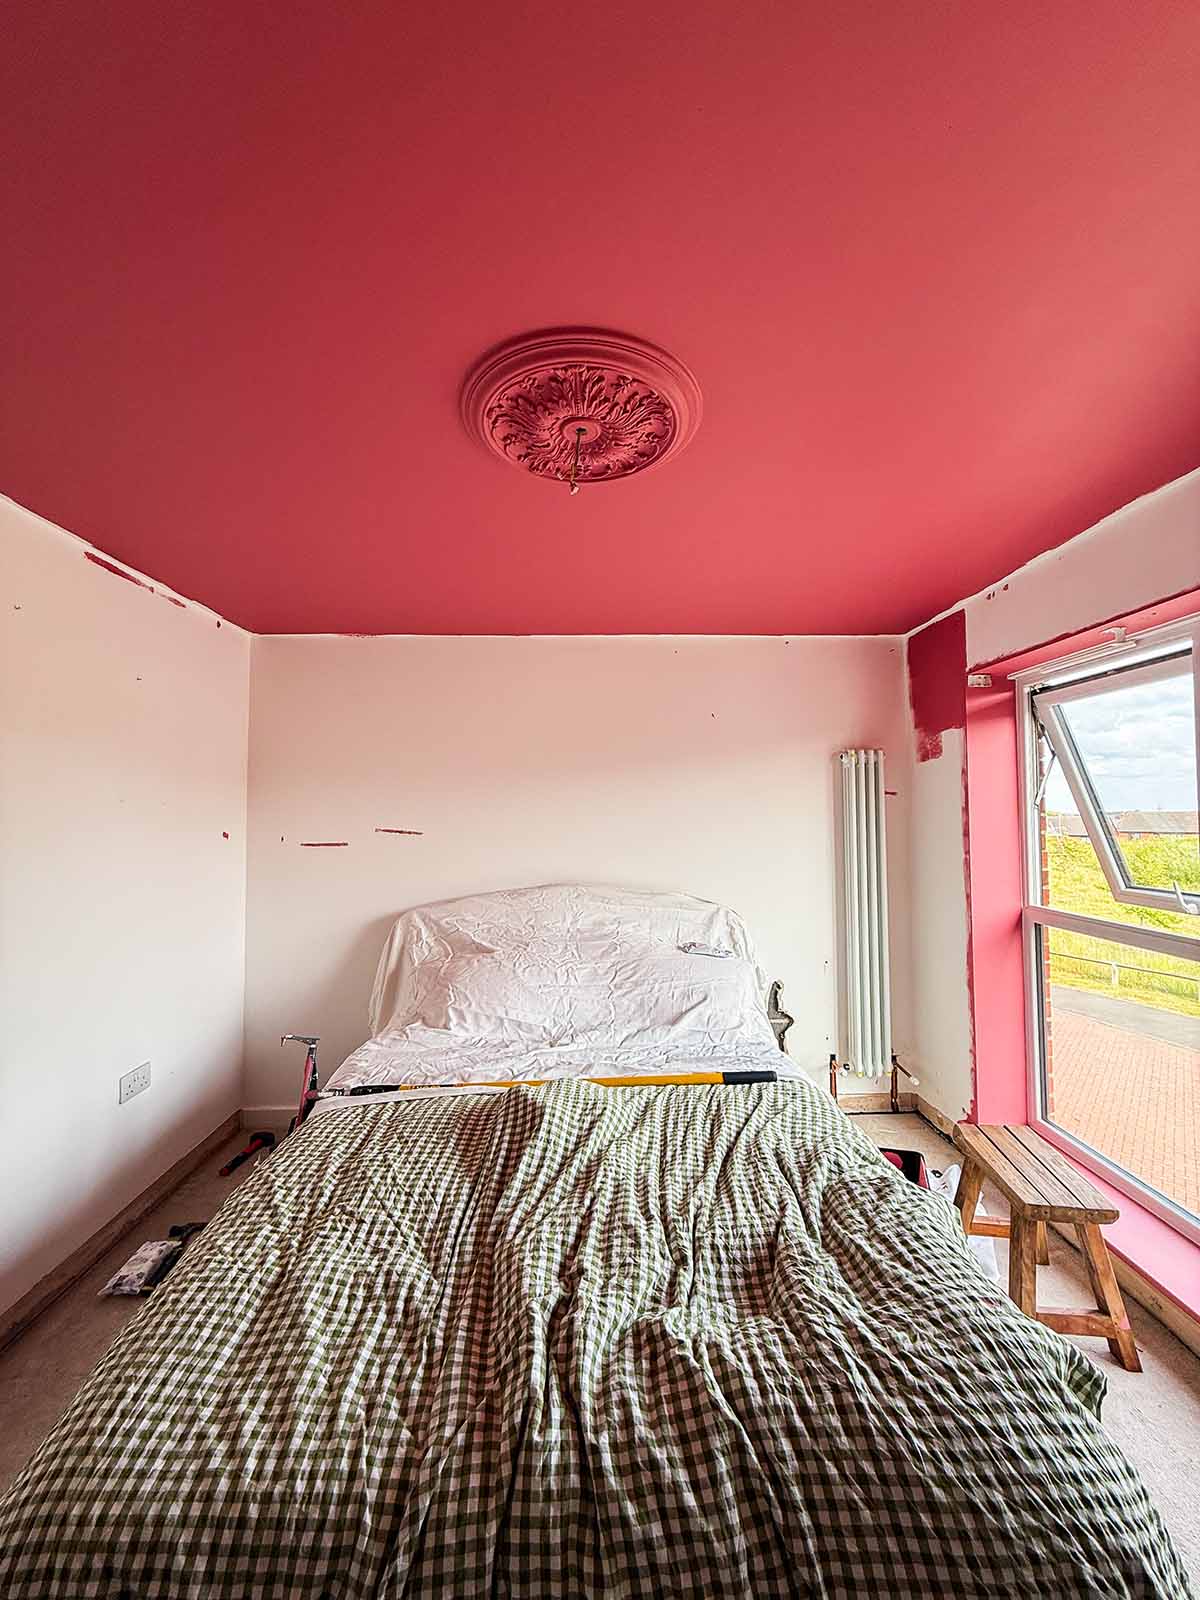
The before
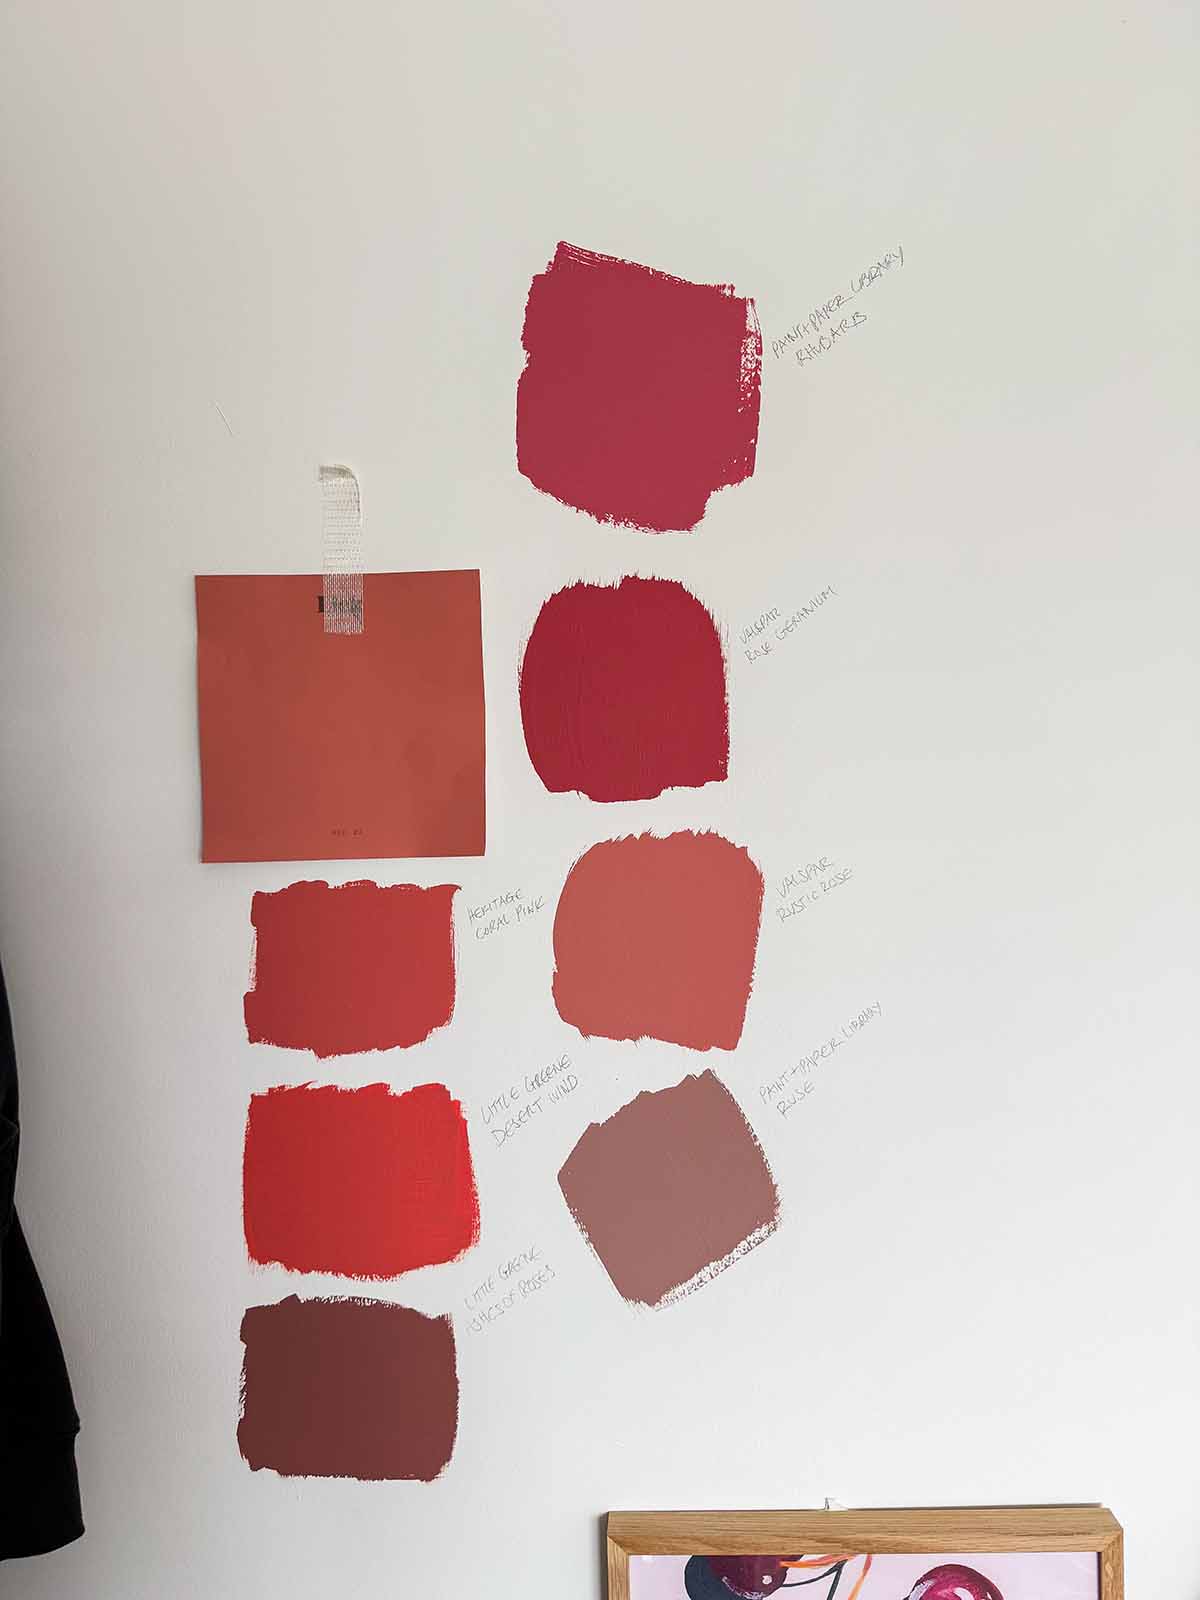
Creating a moodboard
Fast forward to a couple of months back, I stopped delaying the whole process and started planning. I created this moodboard which helped bring my vision to life, after seeing some deep pink panelling inspo on Pinterest. It took me a while to choose the right colour, and I went through so many paint samples, but eventually settled on this lovely deep rhubarb pink. The colour we picked is ‘Rhubarb’ by Paint & Paper Library. I asked Jake for his opinion too, and this is the colour that we both liked the most. I added the bed that we already had to the moodboard since it was fairly new, and just kind of worked around the colours and warm tones to pick other things that would fit really well. I think creating a moodboard that you’re super happy with is the key to a good makeover – I absolutely loved my moodboard and seeing that vision come to life was the best feeling.
The process of my bedroom makeover
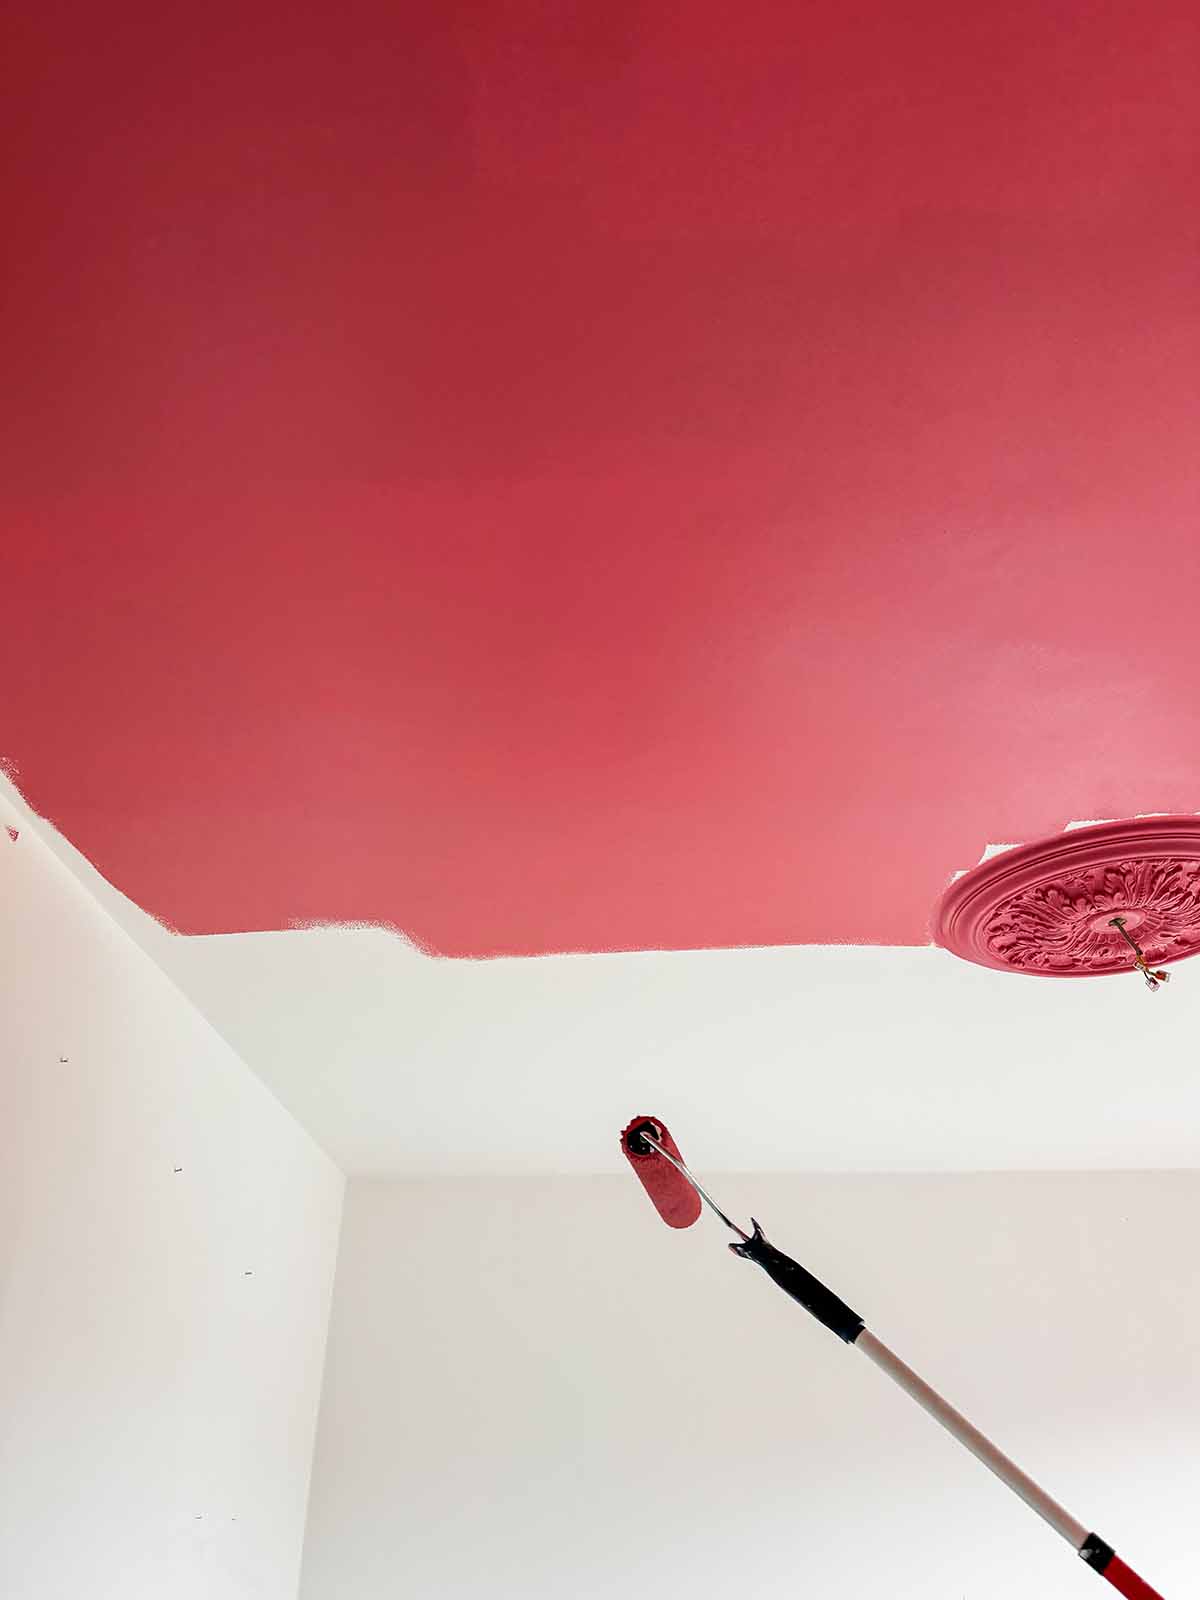
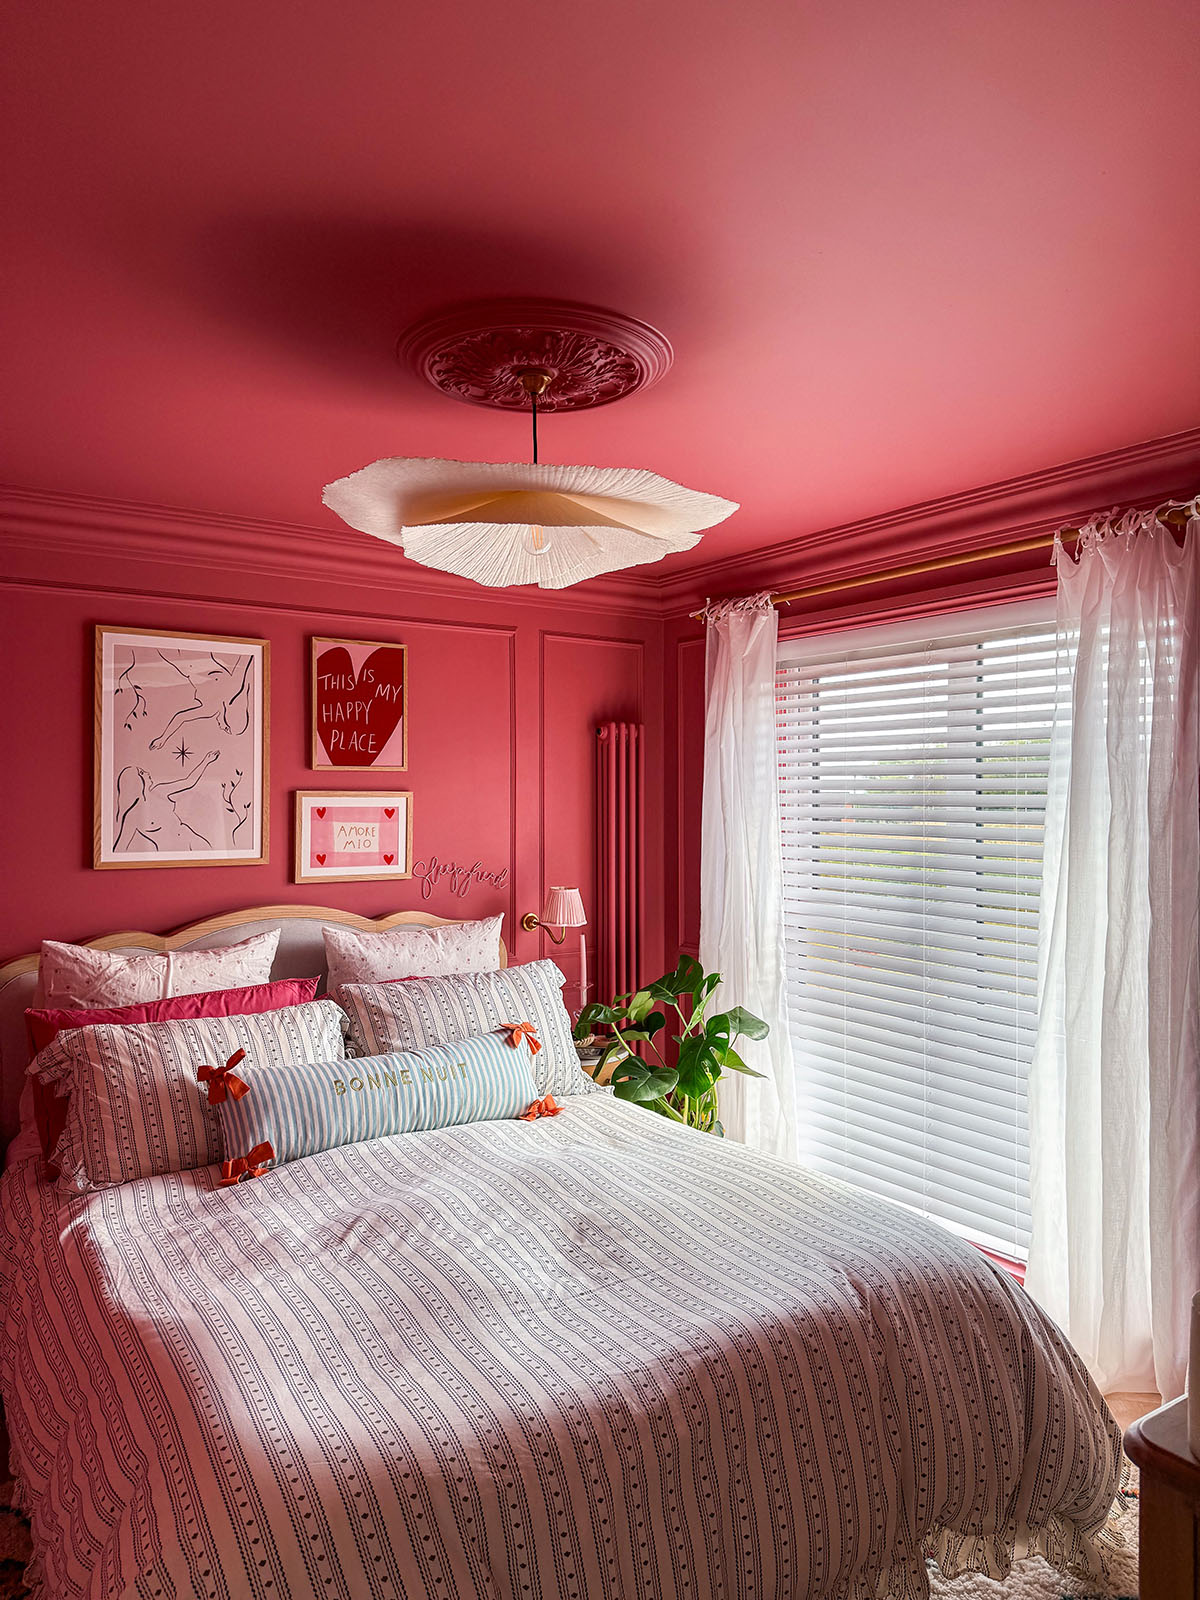
After settling on the colour choice, we got to work emptying the room out, leaving in only our bed as we don’t have a spare room to sleep in. This was totally fine, as we just put dust sheets over it and worked around it. We knew we were colour drenching the whole room, so the first priority was to paint the ceiling. I found this gorgeous ceiling rose on Amazon and we took down the light to fit that, then painted both the ceiling and the rose. Seeing this colour for the first time was so exciting!
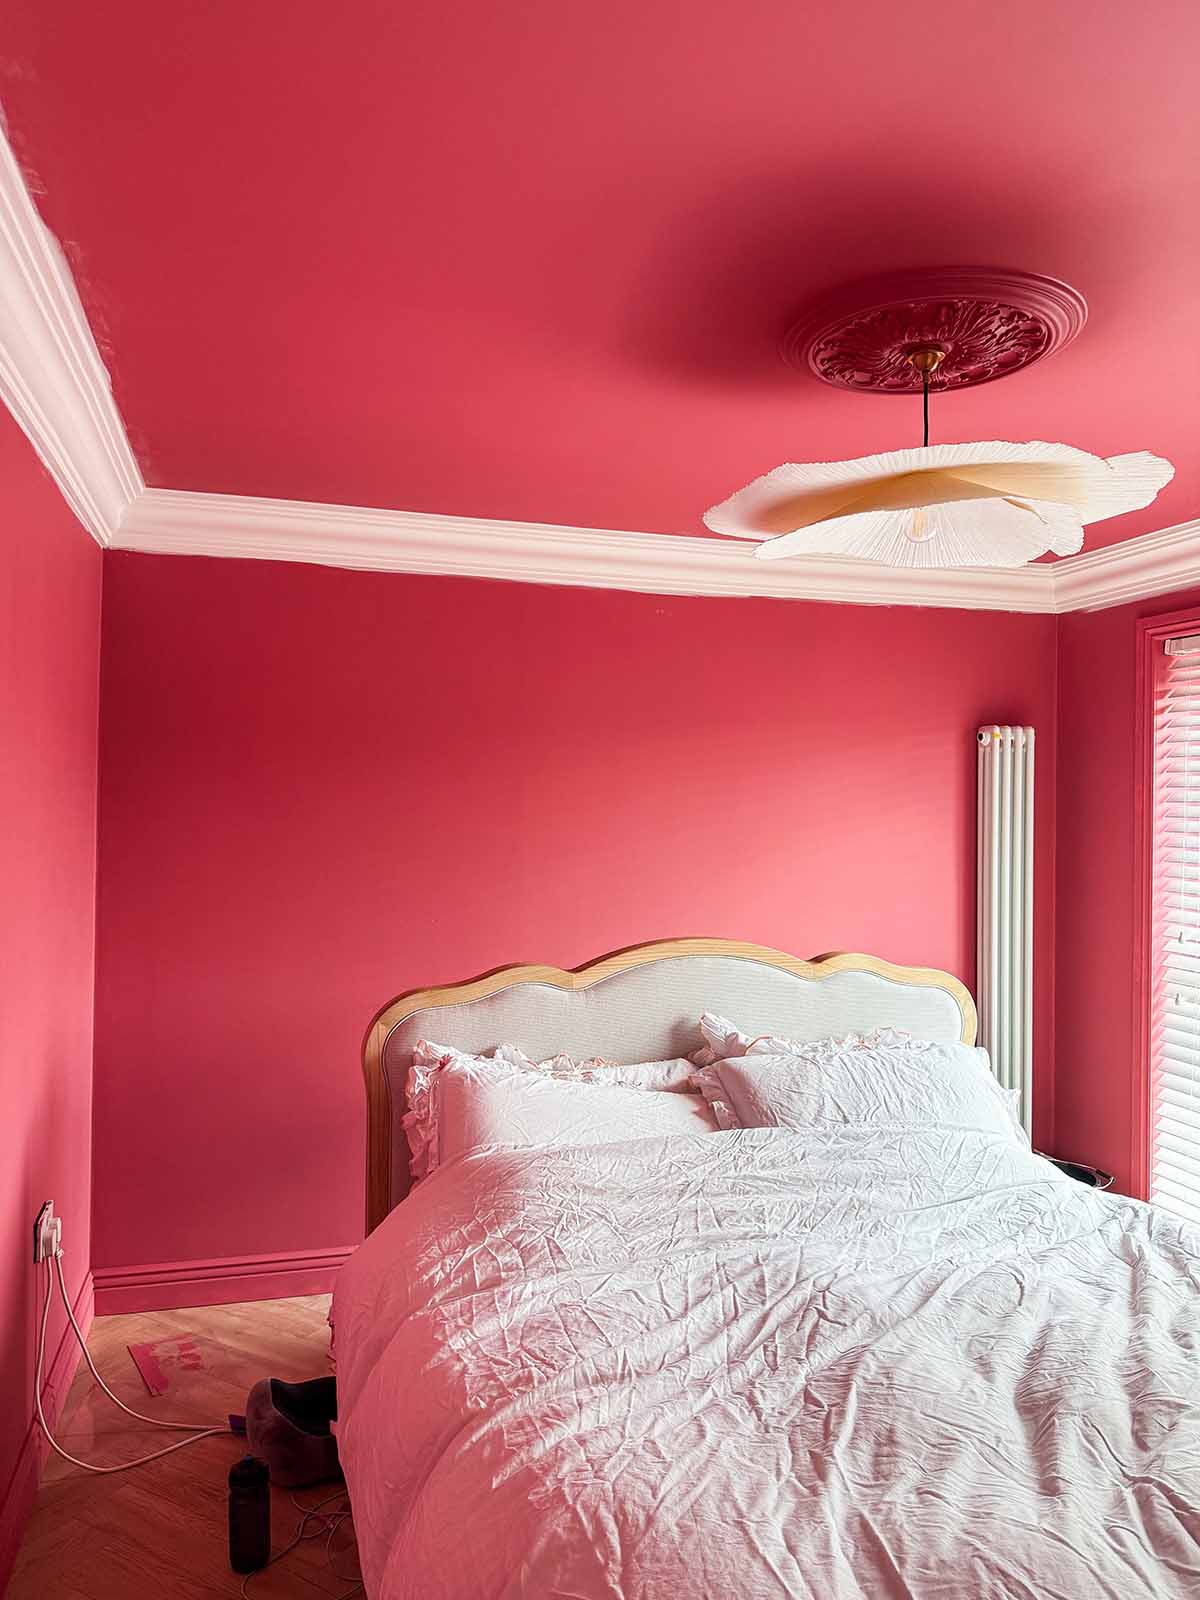
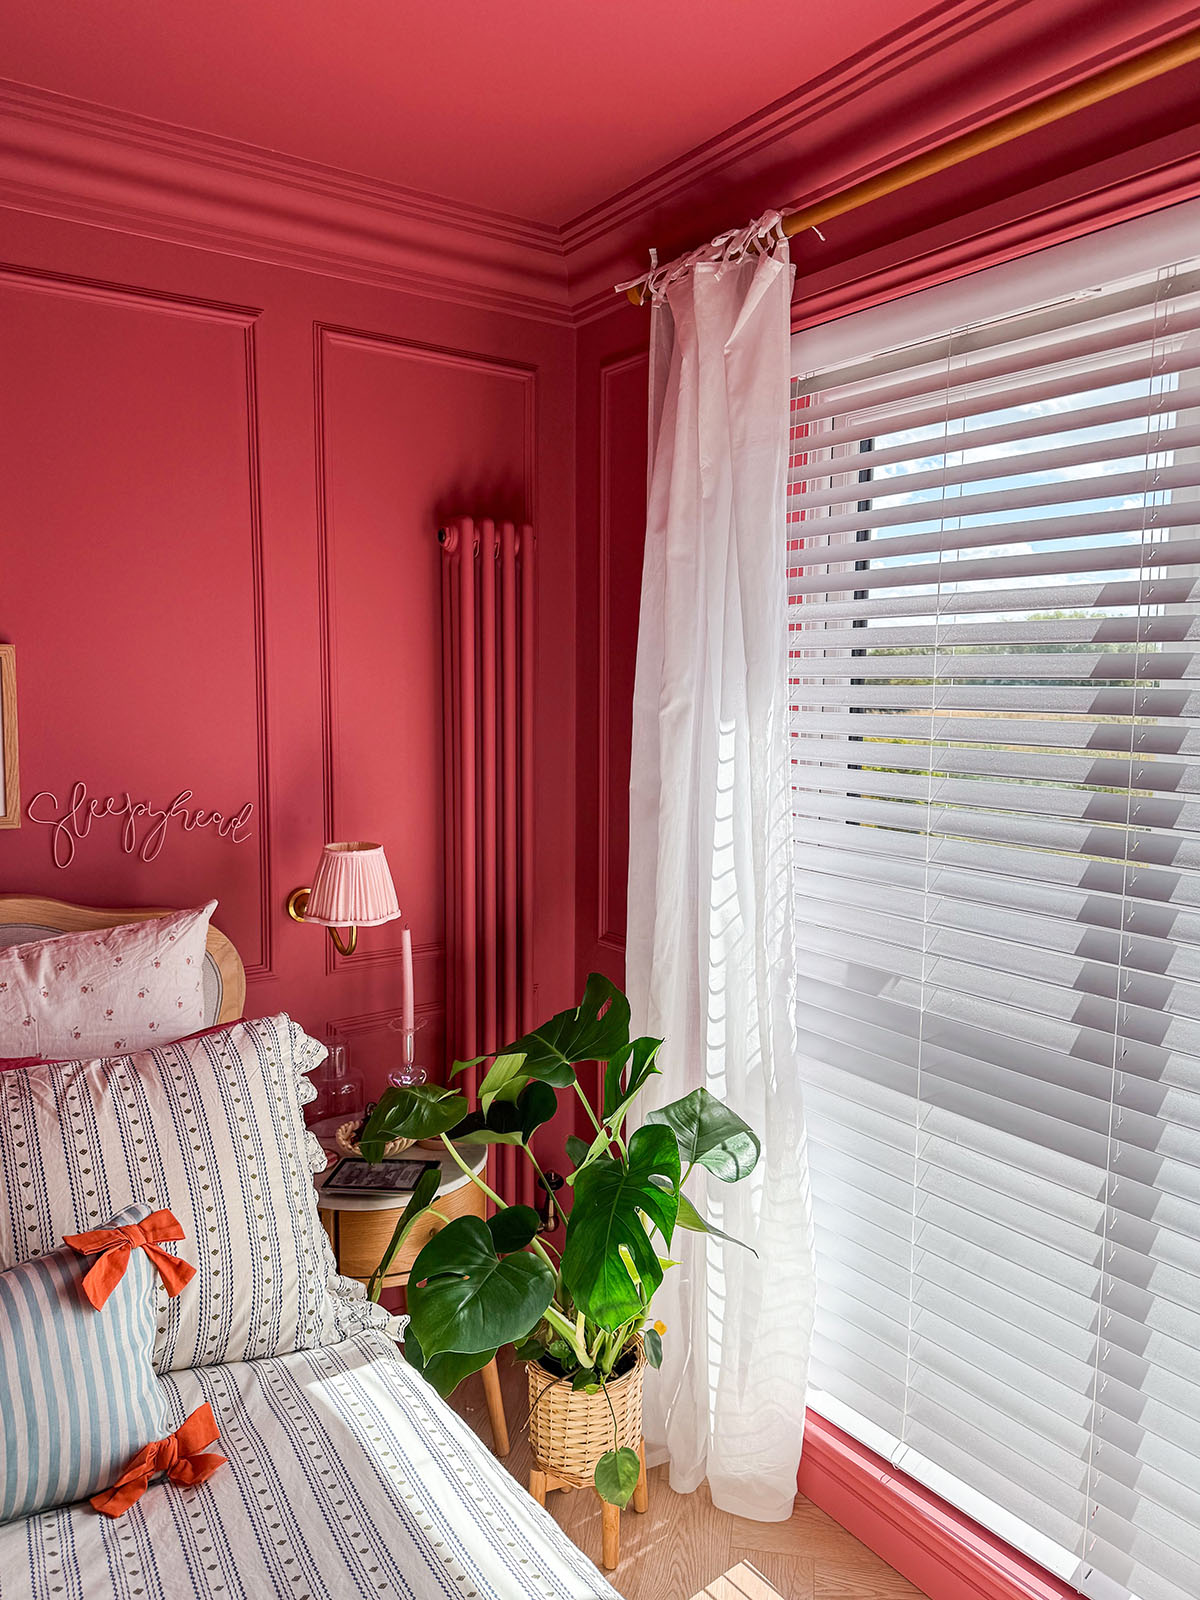
We then changed the radiator, and the main reason for this was to change the layout of the room. We couldn’t put the bed in the centre of the room this way around, without the radiator being an obstruction, so we swapped it for a traditional style narrow one. As far as radiators go, this one is quite pretty and we painted it in the same colour as the room to blend in.
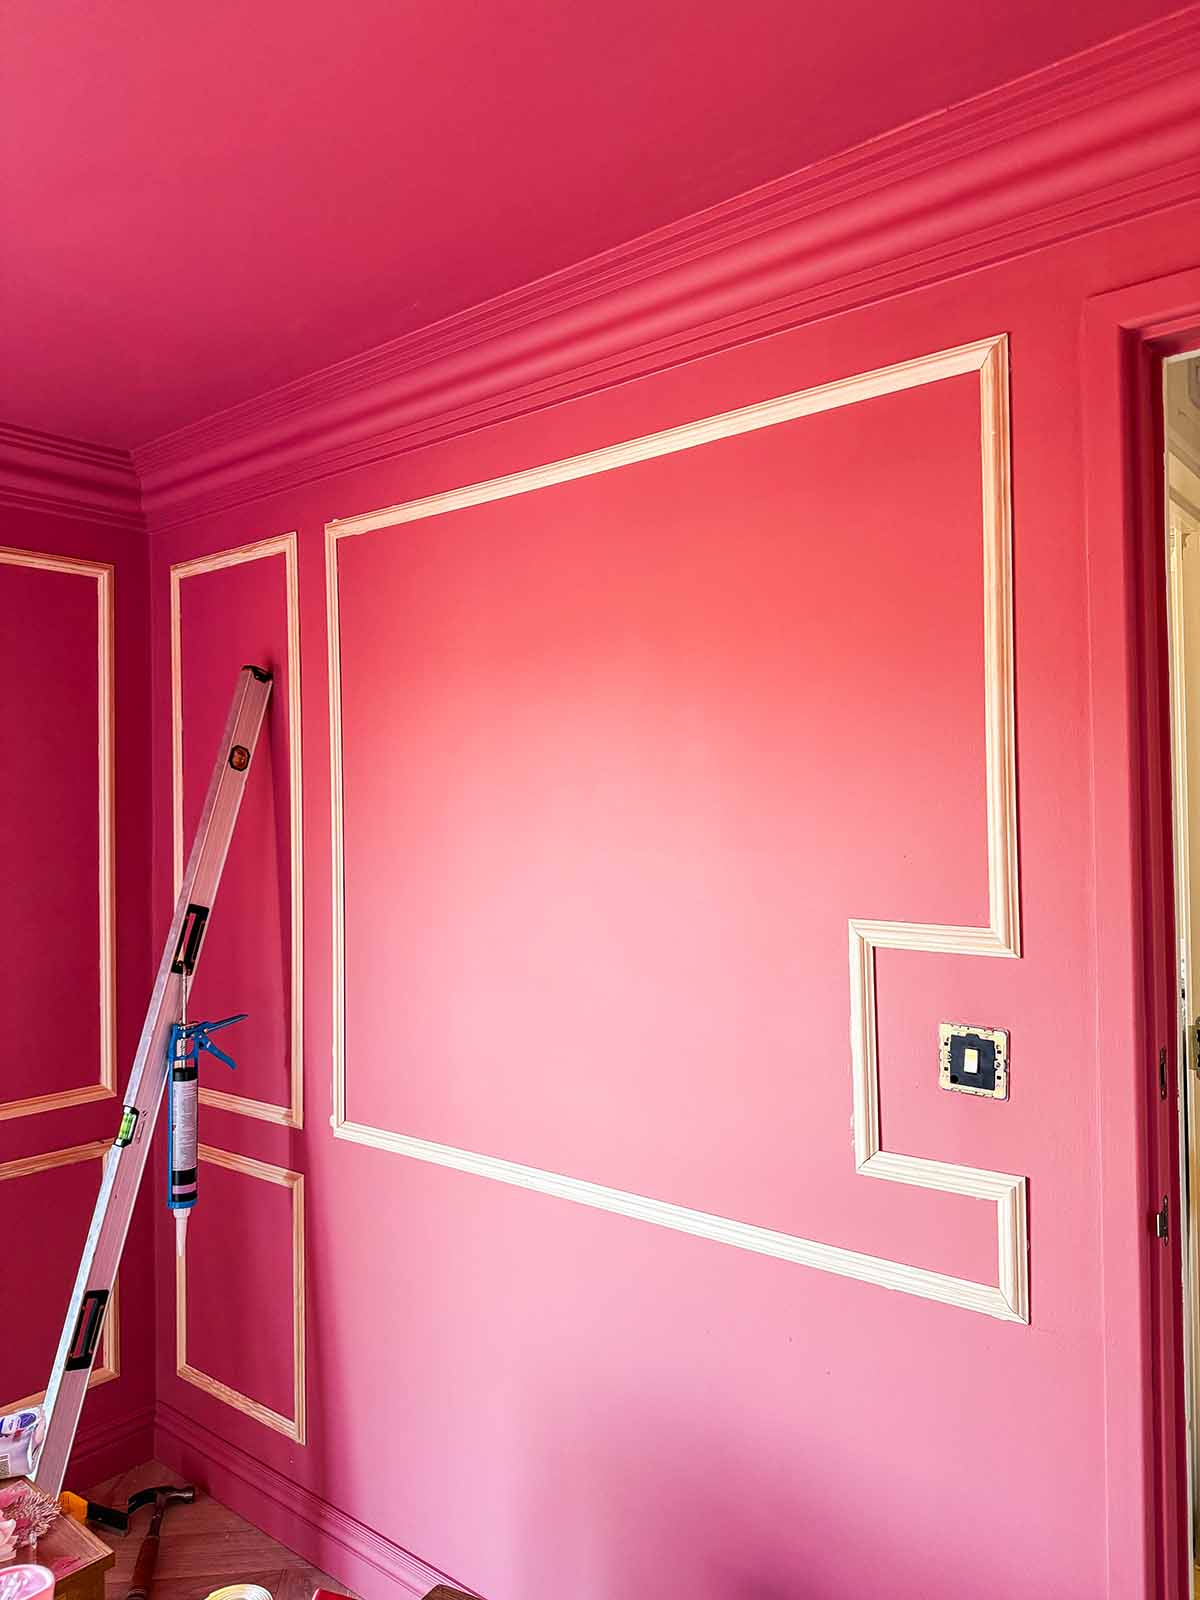
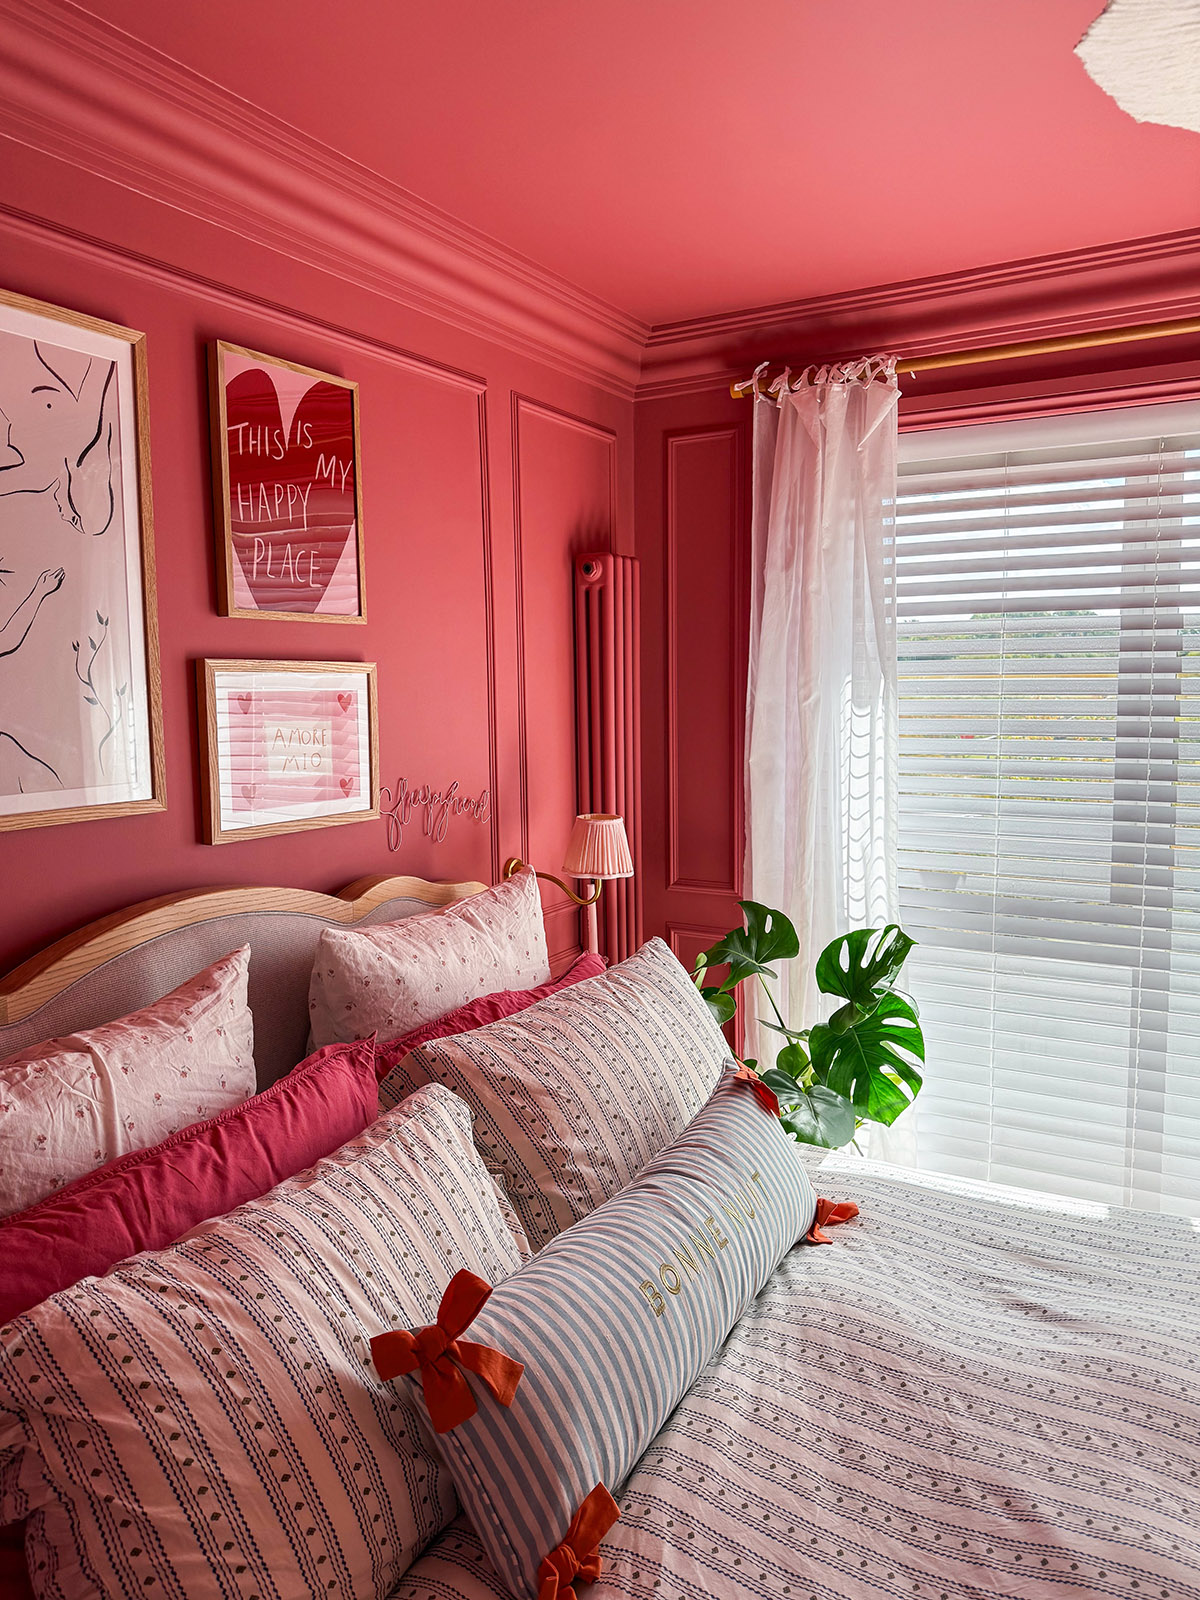
We ripped up the skirting which was just the bog standard one that got fitted when the house was built, and replaced it with some that has a lovely profile. We also added a wooden frame around the window, just like we did in our little boys room. We then painted the walls and added the coving, which is large plaster coving to really add detail to the space, however plaster coving is a nightmare to fit yourself and really requires some skill, so it took my partner Jake a while to get finished. It was worth the wait as it looks absolutely fantastic. After the coving was up, we primed and painted it in the room colour. The final step was to panel the walls, which again, took a while as we massively underestimated how much panelling we would need doing panelling top and bottom, all the way around the room.
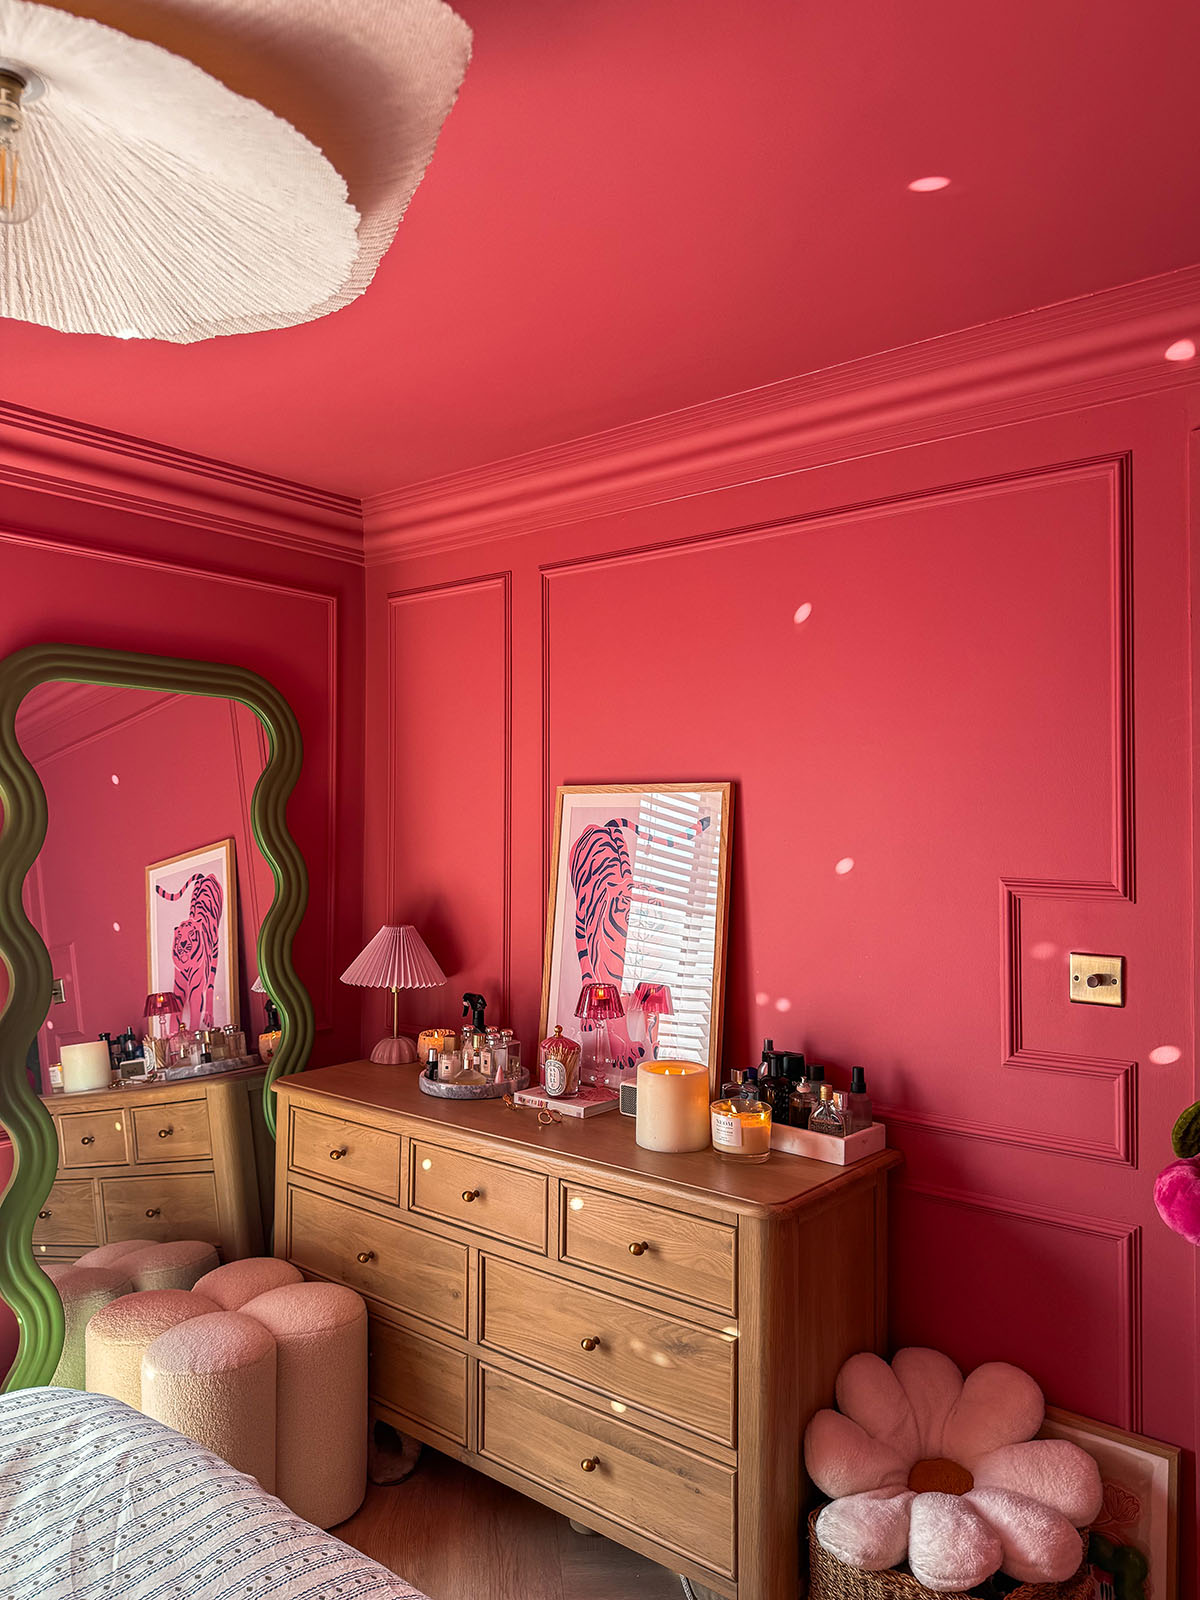
We did some other little finishing touches such as painted the door and the door frame, added some pretty gold bow hooks to the back of the door, and replaced all of the standard white sockets with some nice brushed brass ones. And then it was finally time to bring back in the furniture and get styling!
We added so much detail to this room but it was 100% worth the time and effort it took as I really think it looks cracking. It’s my new favourite room of the house and it’s so cosy and full of colour and character, which is exactly what I envisioned.
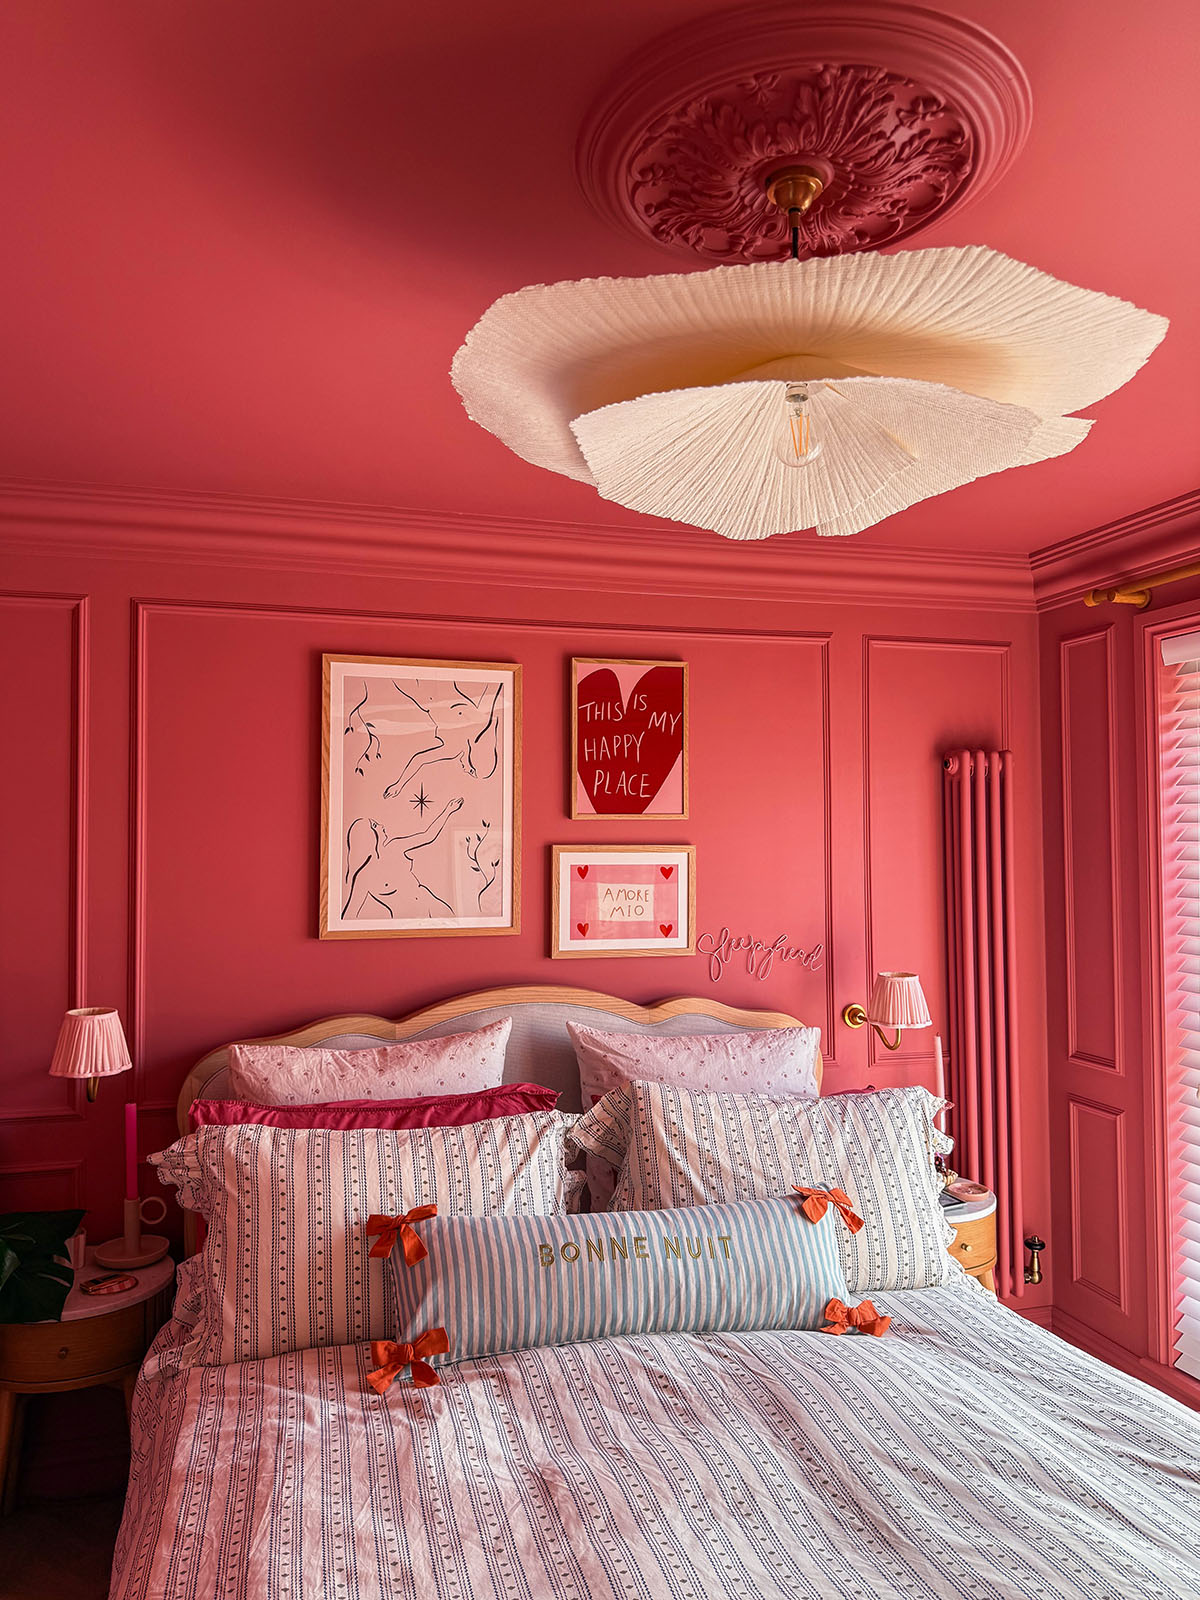
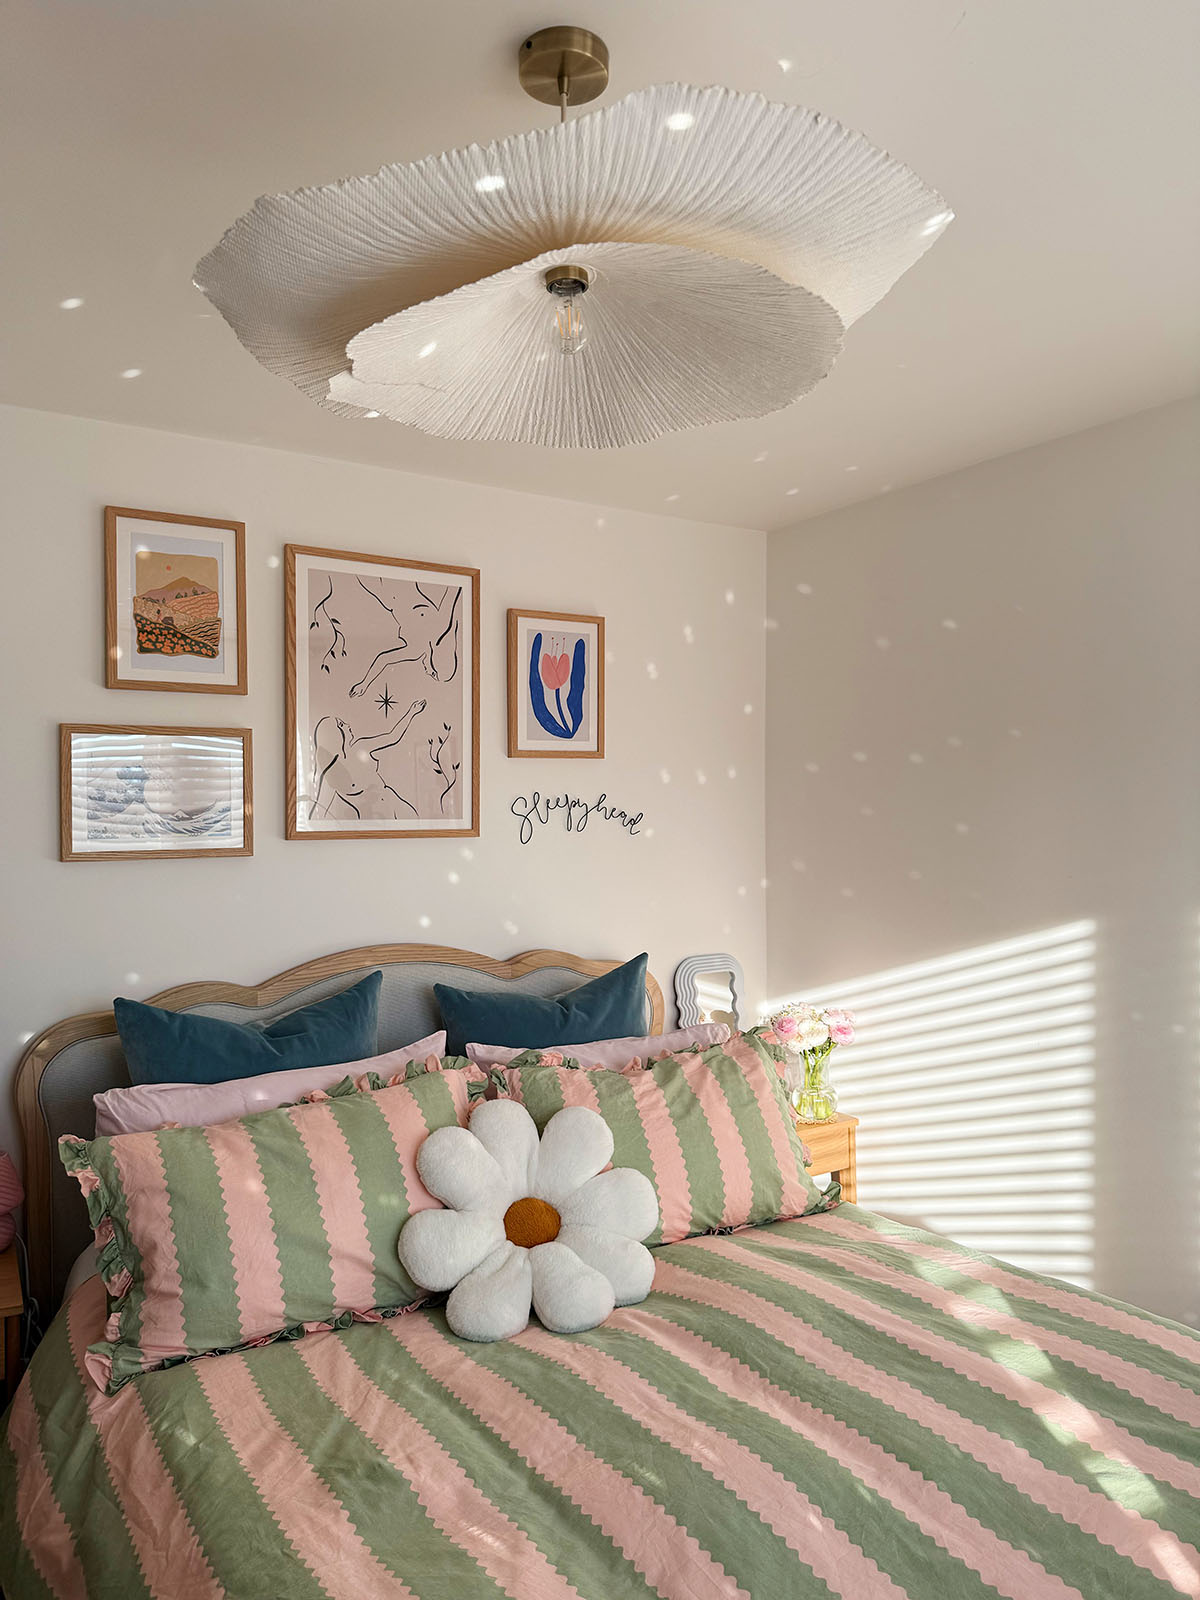
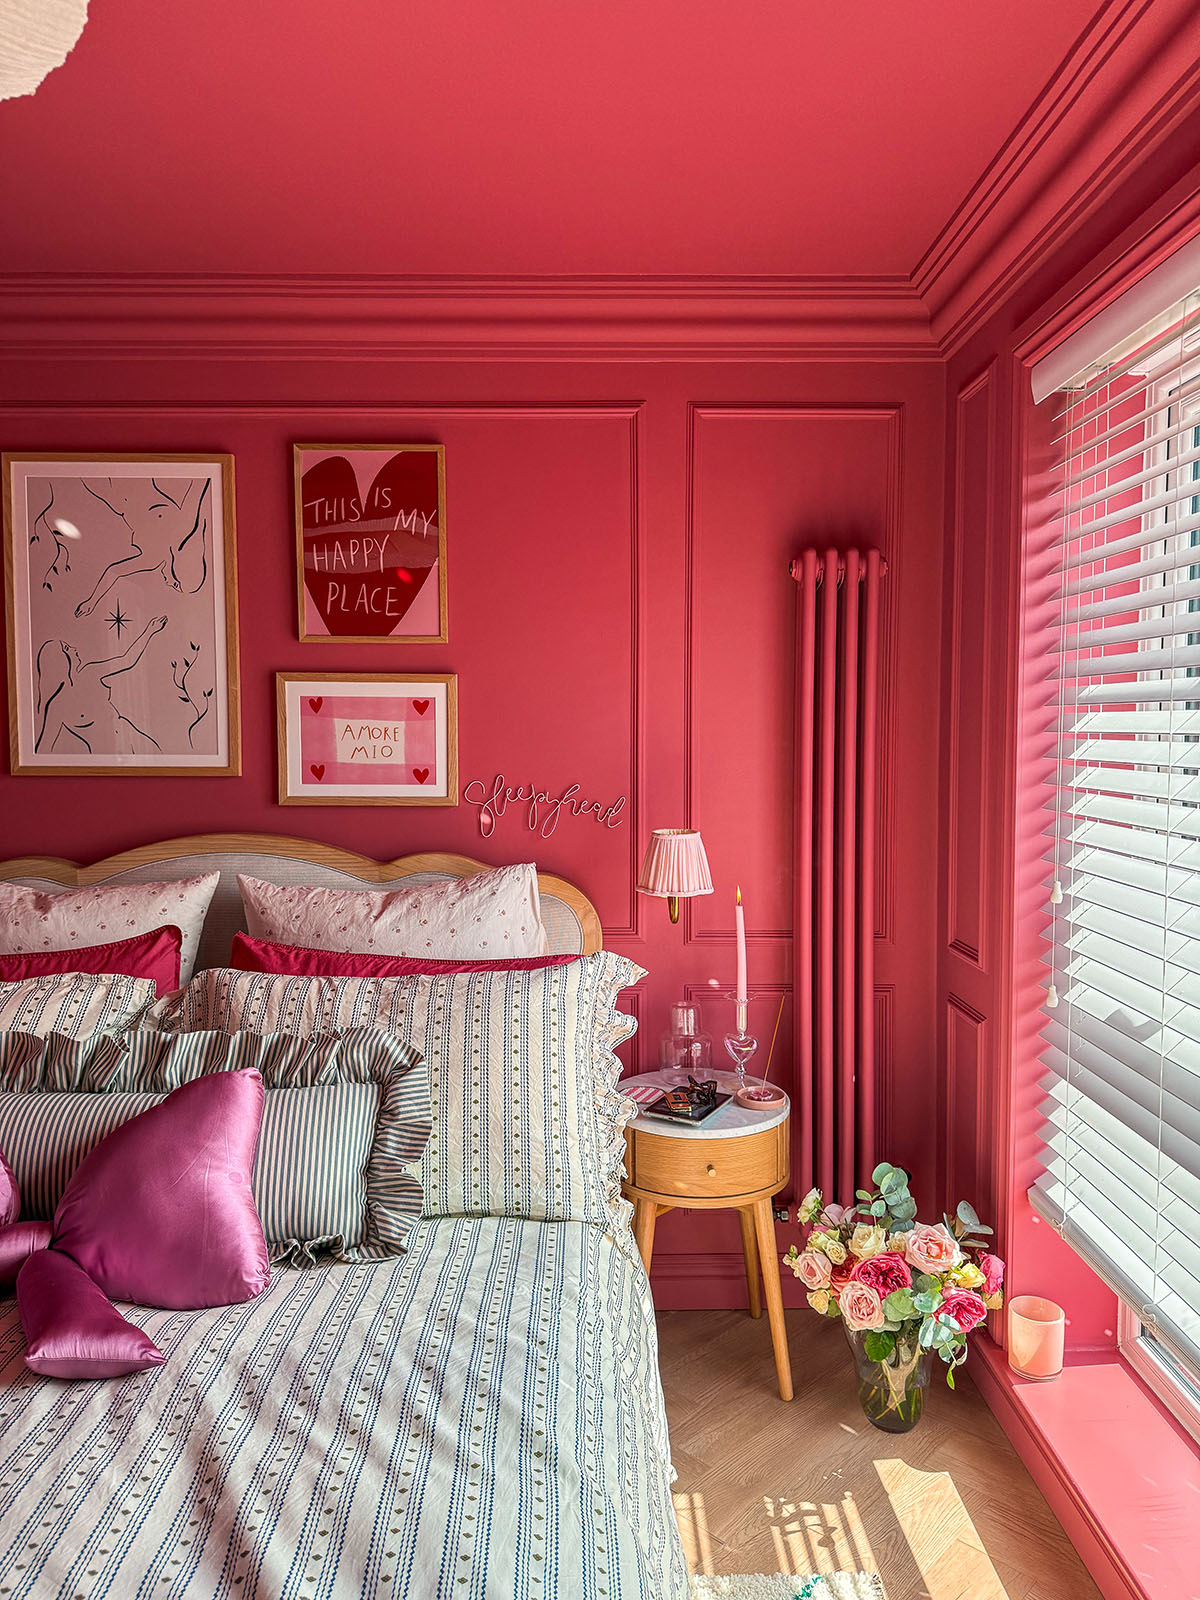
The finished result
My top bedroom makeover tips:
Use premium paint
Using a premium paint is key for colour drenching. I’m a big believer in that you get what you pay for with paint anyway, the more premium paint brands really show that beautiful pigment in all different lighting. We considered using a cheaper paint, which would have drastically reduced the cost of this bedroom makeover, however I’m really glad that we didn’t. I find that you need 3 coats minimum with cheaper paints too, and with this one from Paint & Paper Library (owned by Little Greene) we only needed two coats. You can see how bright and pigmented it looks, it’s such a beautifully rich colour.
ADD LOTS OF DETAILS
The beauty really is in the details, and without the pretty ceiling rose, coving, skirting and panelling, this room certainly wouldn’t be on the level it is. We could have colour drenched this room without all of the above but it would probably look rubbish. Details are so important!
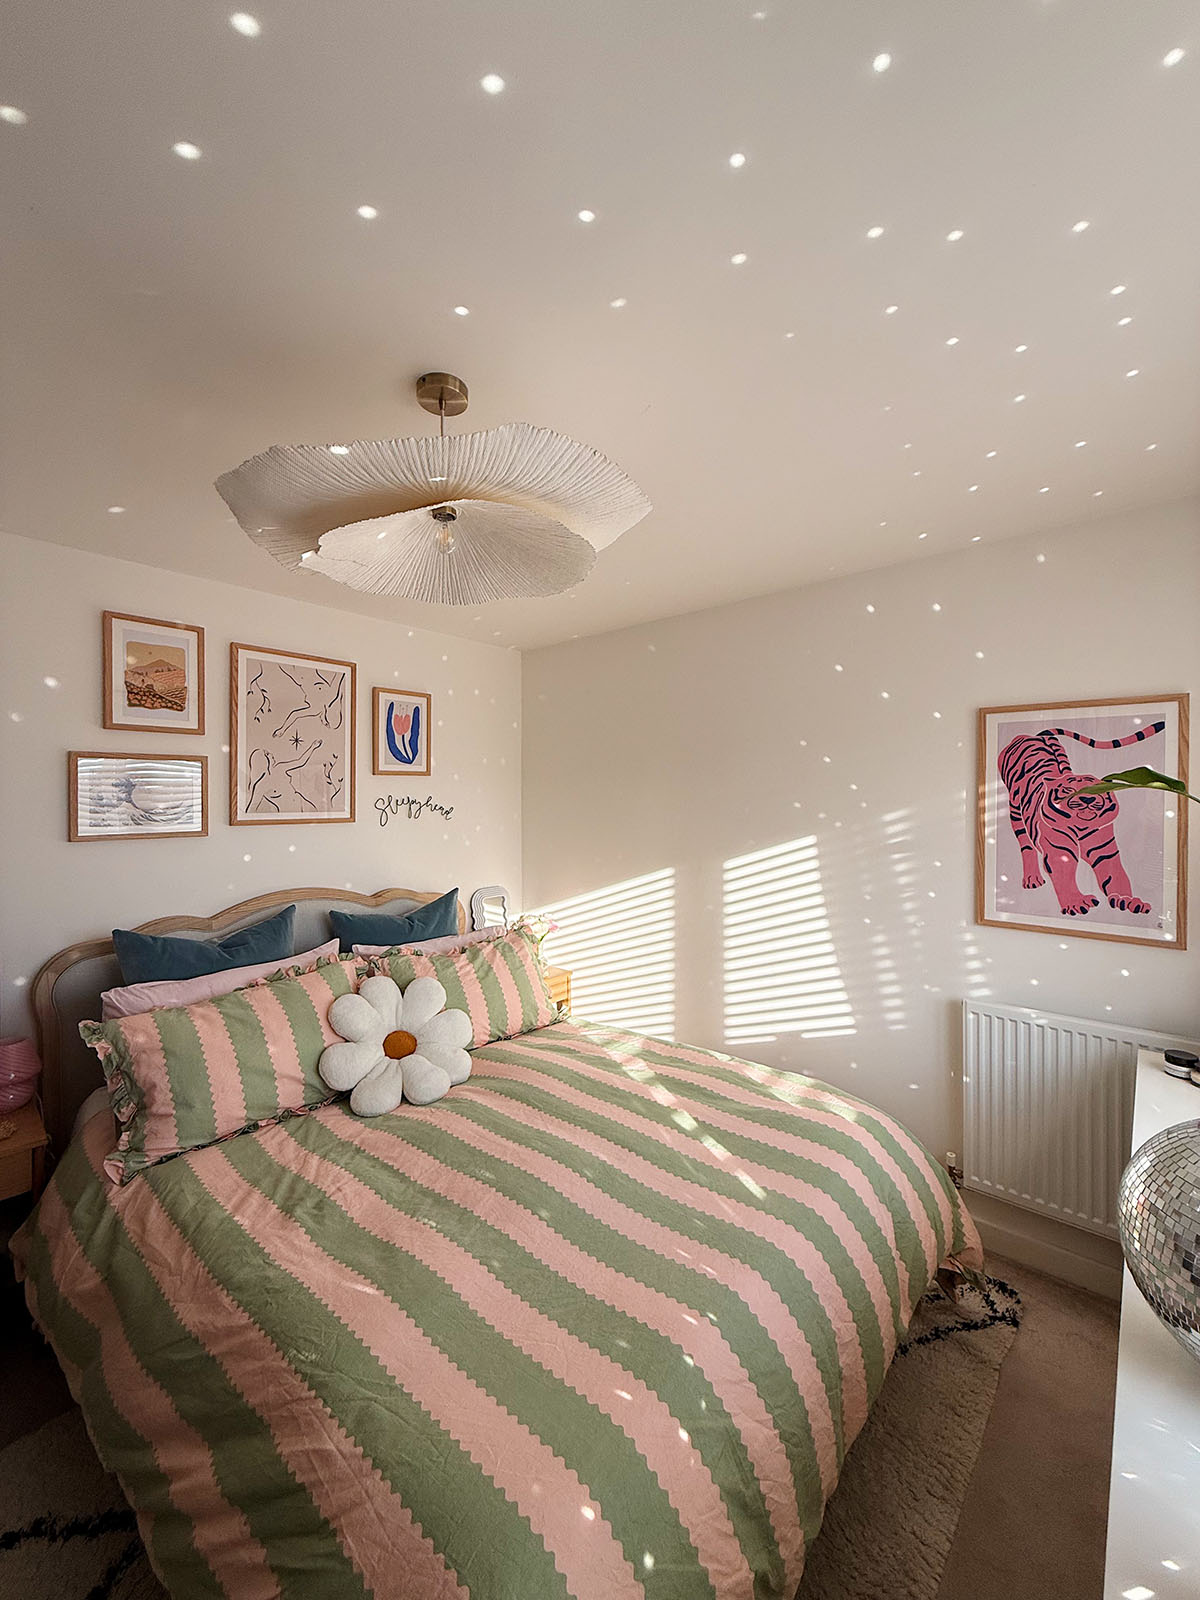
COSY LIGHTING IS A MUST
We added these gorgeous wall lights from Pooky and I ordered quite a few light shades until I decided on which ones I like the most. I think choosing something nice, but that fits in with the theme of the room is vital for that cosy feel. Ours are the rechargeable dimmable lights and they make it so cosy on an evening!
I love this room so much and it really turned out better than I could have imagined!
What do you think?